This is my first writeup on adding the Heated/Ventelated seats and the Heated Wheel to an Express or Tradesman. I am shure there will be questions along the way but I will try to explain it as well as I can. As I did on the other thread I want to mention that I did not figure all of this out. 00/RT was able to add the heated seats and wheel to his regular cab Express that came with the wiring from the factory. There is no way I could have done this without his help. I am sorry I keep repeating that but I don't want t take credit for something I didn't figure out. He was very patient and worked with me to figure it all out. We are lucky to have him on our forum. This is not as complicated as one might think and it worked fine without adding any codes. This is the basic setup
Parts you may need. I got all these from Nexus Electronics with part# I got from 00/RT
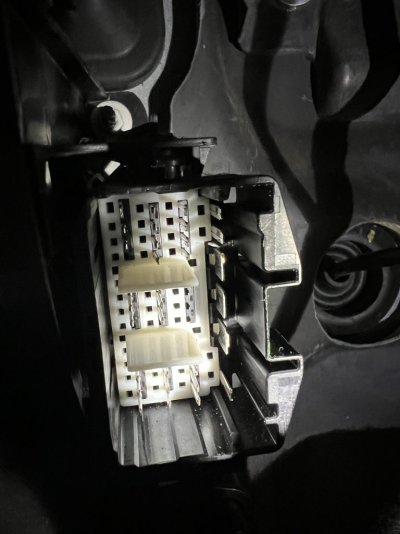
Big pins for passenger side seat plug part# 7116-4032. You will need one if you are adding just the seat and two if you are going to install the factory inverter.(see post by 00/RT on installing factory inverter)
Small pin for passenger seat harness part# 7116-4021. You will need 5 for the seat conversion and four more if you are adding the inverter.
You will need two pins for the plug that the heated wheel harness enters but does not exit part#7114-4101-02.
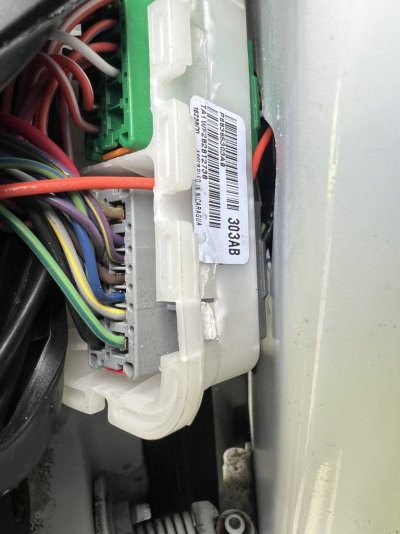
You will need the male end of the gray plug for the drivers side seat part#
7283-6388-40 non locking or
7283-6568-40 locking I was able to get the locking version but the other was out of stock.
The pins for the gray plug are part# 7116-4720-02 or
7116-4721-02 I had to special order these pins. I recommend getting the 7116-4721-02 if possible as its for a bigger Guage wire. The main conversion is actually not bad once it's figured out.
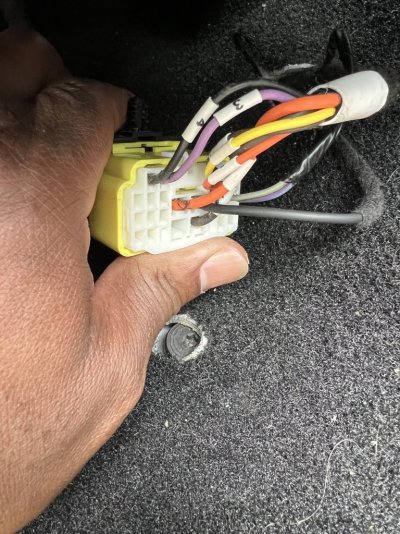
You will need to hook up the solid red wire in the passenger side seat in order for the power functions to work. You will take pins 1 through 5 colors are #1 LG/BR #2 BR/LG #3 TN/DB #4 TN/WT #5 LG/VT from the passenger seat plug and run them to the drivers side seat gray plug. Pin# 2 TN/WT 3 TN/DB 5 BR/LG 6 LG/BR and 15 LG/VT. The gray plug also has four more wires we will need to use
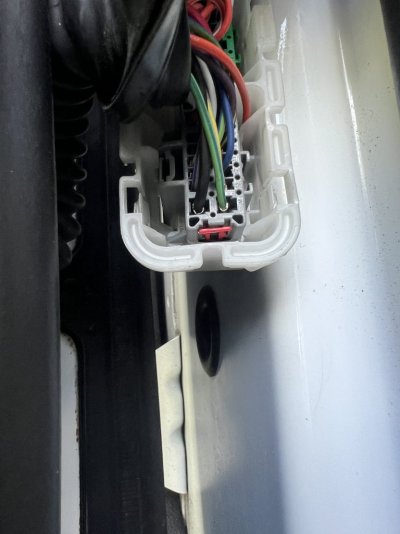
Heated Wheel pin# 10 GY/DB and pin# 20 DB/LG These two wires will go to the plug under the dash where the heated wheel harness terminates. We found that all trucks have the heated wheel Harness in the colum so all you will need for the heated wheel is the Wheel/clockspring and steering wheel harness.
Last but not least you will need to connect to the CAN (Controller Area Network) You will tap into the IHS (Interior High Speed) CAN .
This will be pin#12 WT/DB CAN IHS +
And pin# 13 WT CAM IHS-
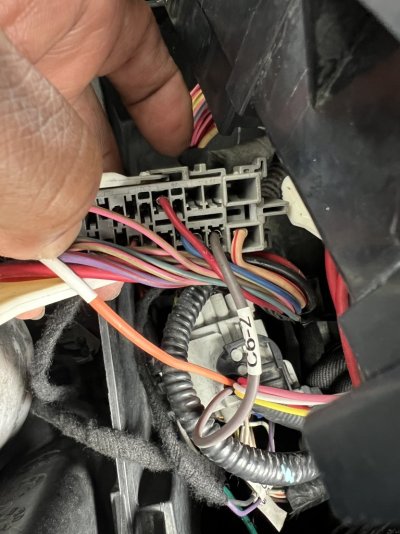
I attached these two wires to my OBD2 PORT
Pin# 3 GY IHS+ And
Pin# 11 WT IHS-
I just had shoulder surgery so I am going to take the truck to the stereo shop tomorrow to hook up to the CAN permanently. I can't work well under the dash yet. You could leave it hooked up to.tje OBD2 port if you wanted but I decided have them mount it somewhere else. I was worried about hooking up to the can but if you know the correct wires it doesn't seem to be as bad as I thougjt.
The last ptoblem is our trucks do not have the correct ignition on run power supply to run power to the heated seat module. Because of this we need to run a relay into the truck. For this I ran a fused 16 Guage wire from the bsttery into the truck under the seat to a 40 AMP relay. I found a suitable trigger sorce in another harness near the same Harness that the Heated wheel harness attaches. You will run two wires from this relay to the two P/Y wires in the YELLOW drivers side seat plug(these wires can only have power when the key is on (RUN). You will also attach a constant 12v sorce to the solid red wire in the YELLOW drivers side seat plug. I am going to attach pictures but if there are any others needed just let me know. I was able to add the codes d
to my control buttons come up on RA4 because I have the tool but it all worked without the codes. You just need to use the hard keys in the switch panel. The first pictures I will post will be of the passenger side seat plug. Obviously I could not duplicate the factory colors but it shows what I did to make it work
View attachment 82976
View attachment 82988
View attachment 82989